What a Diffuser Does Before You Even Turn the Dryer On
Picture this: you wash, condition, and carefully scrunch your curls, then reach for the blow dryer. Ten minutes later, your hair is fluffy, undefined, and full of frizz. The problem is usually not your products or your hair type; it is the way the air hits your hair. A blow dryer diffuser spreads the airflow over a wider surface and breaks the blast into gentler streams, so the cuticle stays smoother and the curl pattern stays intact. If you want defined, bouncy curls, the diffuser is the right tool, but only when you use it with the correct technique. The short version: work with low heat and low speed, dry in small sections, and keep the diffuser moving instead of hovering in one spot.
Most diffuser failures come from treating the attachment like a regular nozzle: high heat, fast speed, and constantly moving the dryer over the whole head. That approach blasts curls in every direction and creates frizz. A diffuser works best when it is held still against a section of hair, allowing the prongs to cradle the curl. The airflow becomes an even, gentle current that dries the hair without destroying its shape.
Diffuser vs. Concentrator: Why the Tool Changes the Result
To understand how to use a diffuser, it helps to see what it is actually changing. A standard concentrator nozzle pushes air forward in a narrow, high-pressure stream. That stream can quickly flatten curl clumps and create frizz. A diffuser attachment instead uses a wide, bowl-shaped surface with prongs and vents that scatter the air in many directions. The result is slower, more even drying that keeps the natural bend of each wave and curl intact.
| Feature |
Concentrator Nozzle |
Diffuser Attachment |
| Airflow |
Narrow, concentrated stream |
Wide, dispersed stream |
| Heat on hair |
Focused, can create hot spots |
Distributed, lower risk of heat damage |
| Best for |
Fast drying, straight styles |
Curly, wavy, or textured hair |
| Typical result |
Sleek lines, possible frizz |
Defined curls, more natural volume |
A wider airflow footprint is the reason a diffuser protects the curl shape while it dries.
How to Use a Blow Dryer Diffuser, Step by Step
The exact order matters, especially for fine hair that frizzes easily. Work in one direction, keep the heat low, and resist the urge to touch the curls too much. If you follow the same order every wash day, your hair will dry faster and hold its pattern better.
- Start with clean, conditioned hair and squeeze out excess water with a microfiber towel or a soft cotton T-shirt. Never rub the hair, because friction opens the cuticle and guarantees frizz.
- Apply leave-in conditioner and a styling product while the hair is still damp. Scrunch the product in gently, then use a wide-tooth comb or your fingers to separate clumps.
- Flip your head upside down and divide the hair into small, palm-sized sections. Working from the back to the front gives you a clear view and prevents missing sections.
- Set the dryer to low heat and low speed first. Place the diffuser against one section, press upward toward the scalp, and let the prongs sit under the curl rather than pushing through it.
- Hold the diffuser in place for 10 to 20 seconds, lift it off, then move to the next section. Do not shake the dryer or flick the hair with the prongs; let the steady airflow do the drying.
- Continue section by section until the hair is about 80 percent dry, then finish each section with cool air for 20 to 30 seconds to set the cuticle and lock in the curl.
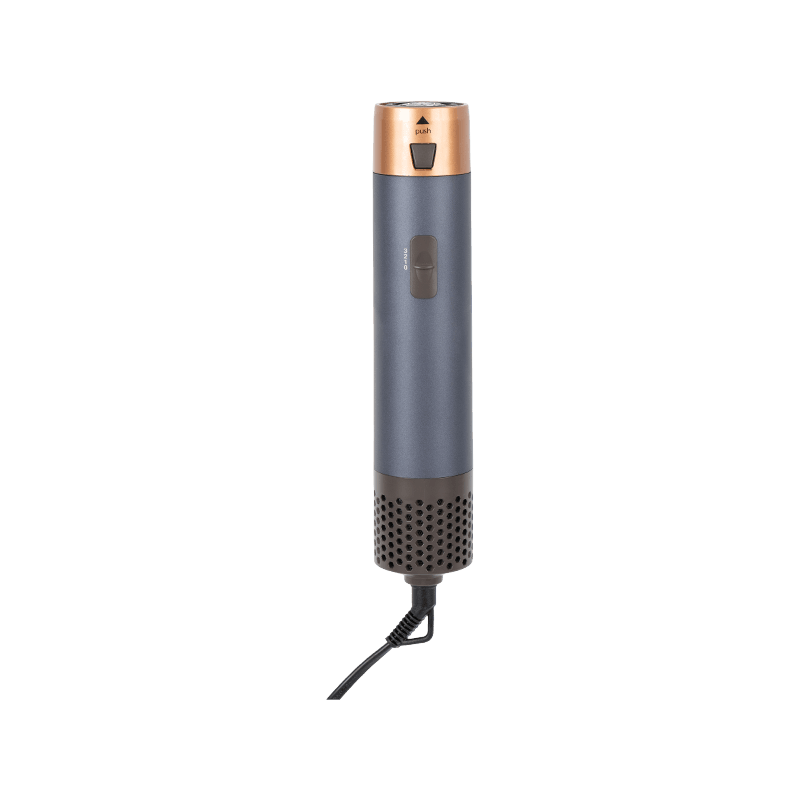
The same airflow-first logic applies to other styling tools; you can see how a hot air brush works for a closer look at how heat and airflow combine in practice.
The Numbers That Matter for Frizz-Free Drying
Most diffuser problems come from using the attachment like a regular blow dryer nozzle. The numbers below are the difference between smooth curls and a frizzy mess.
Remember the number 80: stop the heat at 80 percent dry, then switch to cool air.
Keep each section no larger than the diffuser bowl, usually about 2 to 3 inches across. If the section is larger, the outer hair dries before the inner hair, leaving you with a dry, frizzy surface and a damp, undefined center.
Limit each hold to 10 to 20 seconds. A longer hold concentrates heat on one spot and pushes the cuticle open. Low heat and low speed may feel slower, but they give the curl time to dry without thermal shock.
If a dryer has a consistent low-heat setting and a self-cleaning filter, it is easier to keep the airflow steady over longer diffusing sessions. That kind of predictable air movement reduces the guesswork when you are trying to hover at exactly the right distance and angle.
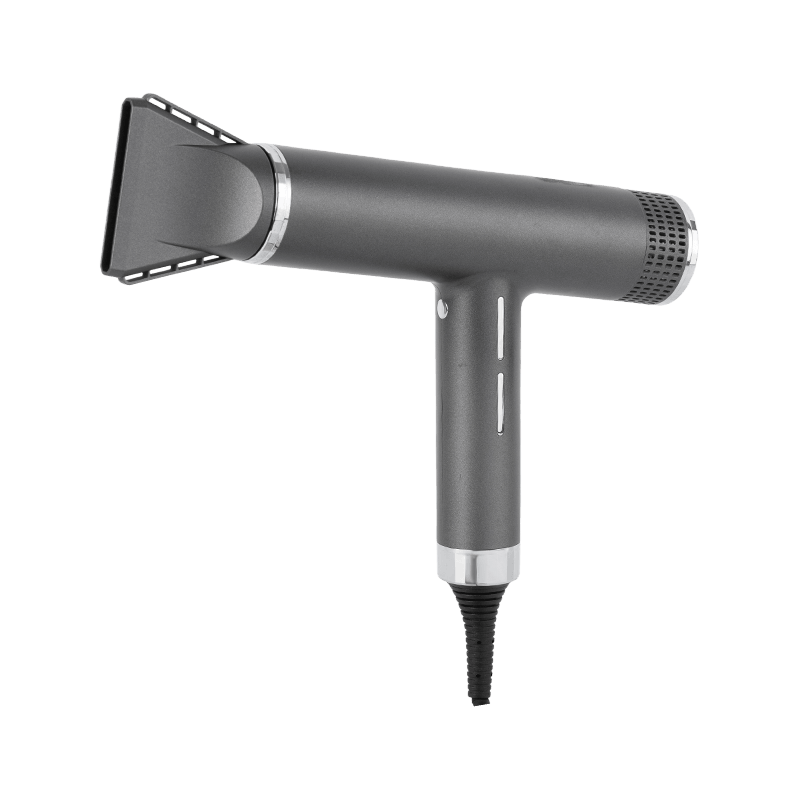
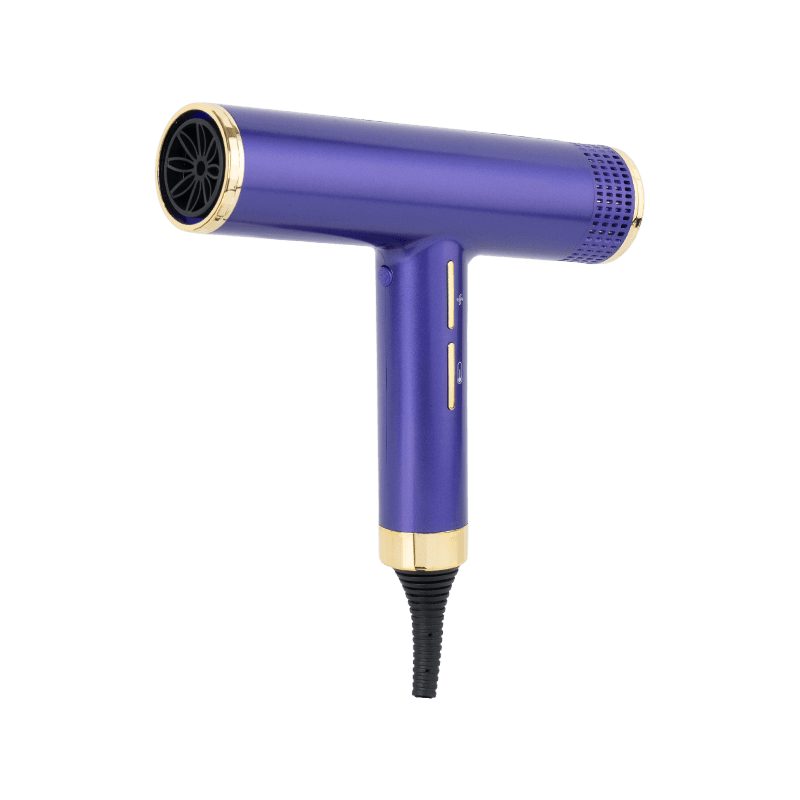 Self-Cleaning High-Speed Hair Dryer with Triple Control and Magnetic NozzlesOffers a 110,000 RPM BLDC motor, self-cleaning airflow reversal, and three wind/temperature settings plus anti-flyaway nozzle, providing consistent low heat for controlled diffusing.View Product →
Three Diffusing Techniques That Improve Curl Definition
These three techniques solve the most common diffuser mistakes: hovering, moving the hair too much, and skipping the cool shot. They work together, so try them in order.
Cup and Press
Cup the diffuser bowl under a section of hair and lift it up toward the scalp. Hold still for a few seconds, then release. This presses the cuticle flat and helps clumps of curls dry together instead of separating into frizz.
Tilt and Rotate
Instead of keeping your head upright, tilt it to one side and rotate the dryer slightly as you move to each section. This simple change lets warm air reach the roots from different angles, which lifts the root and adds volume.
Finish with Cool Air
When a section is almost dry, switch the dryer to cool air for 20 to 30 seconds. Cool air sets the keratin structure and reduces flyaways. It is also a good time to check whether any curls need a little extra product to hold the shape.
A Diffusing Checklist for Consistent Curls
Run through this list before you start, and you will avoid the most common reasons for dull, flat, or frizzy diffused hair.
- Hair is damp but not dripping: squeeze out excess water with a microfiber towel first.
- Product is applied before drying: leave-in and styler work best on wet hair, not after it is half dry.
- Dryer is set to low heat and low speed: high heat creates flash drying and frizz.
- Sections are smaller than the diffuser bowl: one to two inches across is a safe range.
- Diffuser is always moving: hold for 10 to 20 seconds, lift, then move on to the next area.
- Cool air finishes every section: it seals the cuticle and locks in the curl pattern.
Heat, Timing, and Cleaning: Diffuser Safety Notes
A diffuser reduces airflow speed, but it does not remove heat. Over time, the concentrated heat can still over-dry fine hair or irritate the scalp. The safest routine uses the lowest heat setting that dries your hair in a reasonable time, keeps the dryer moving, and ends with a cool shot.
Cleaning matters too. Lint, dust, and hairspray residue can collect in the diffuser vents and the dryer inlet, reducing airflow and raising the temperature. Wipe the attachment after each use and check the back filter regularly. If you would rather spend less time on filter maintenance, look for a dryer with a self-cleaning or easy-access filter. For frequent salon-style use, a professional model with a stable DC motor keeps airflow even at lower temperatures, which is exactly the kind of controlled heat that diffusing needs.
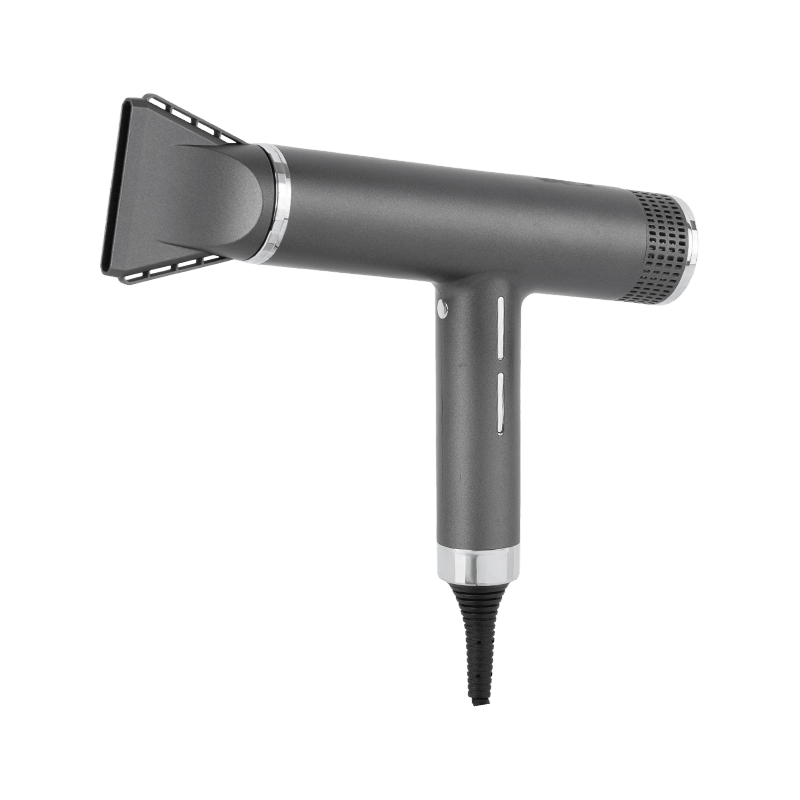 Professional DC Motor Hair Dryer with Anti-Flyaway Nozzle and Easy-Clean FilterFeatures a 1200W DC motor, dual speeds, three temperatures, and a detachable rear filter for quick maintenance—ideal for regular use where consistent airflow and minimal upkeep matter.View Product →
With a steady hand and a few simple rules, a diffuser can turn a frustrating blow-dry session into a predictable routine. Give your curls low heat, small sections, and time, and the shape will follow.


 English
 Español